How to Bleed Auto Brakes Quickly and Safely for Your Car
March 30, 2026
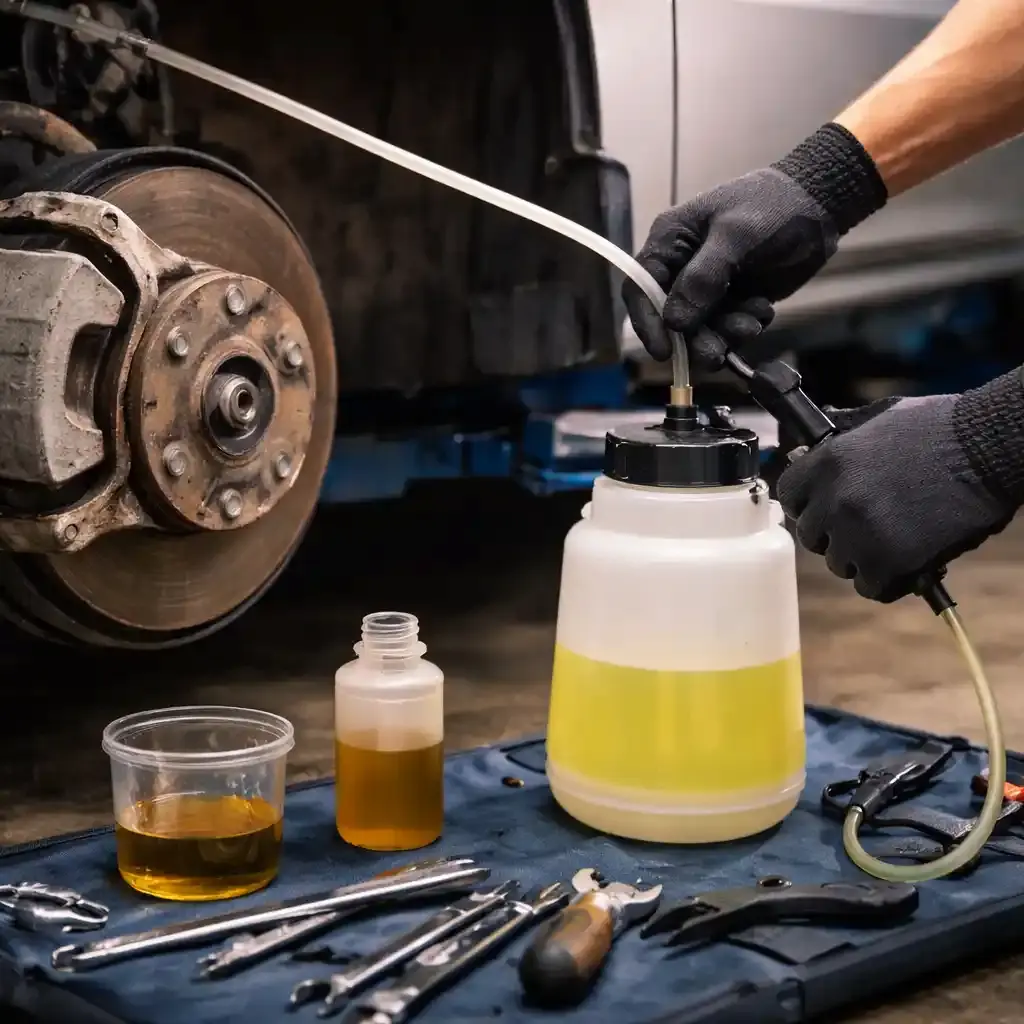
Bleeding your car’s brakes may sound intimidating, but from my own experience, it’s a straightforward process when approached carefully and methodically. Air in your brake lines can reduce performance, so routine checks and professional brake repair in Dubai are key to keeping your brakes reliable.In this guide, I’ll share my hands-on experience and professional tips to help you bleed auto brakes quickly and safely.
Why Bleeding Brakes is Important
Over time, air can enter your brake lines due to worn components, fluid changes, or leaks. Air in the brake system compresses when you press the pedal, leading to a spongy feel and reduced braking efficiency. From my personal experience, neglecting this simple maintenance can compromise driving safety significantly.Here’s why you should bleed your brakes regularly:- Restores firm brake pedal feel
- Prevents brake failure in emergencies
- Maintains hydraulic efficiency
- Extends the lifespan of brake components
Tools and Materials You’ll Need
Before starting, gather the following tools. Using the right equipment ensures the process is smooth and avoids mistakes I’ve seen beginners make:- Brake fluid (check your car manual for the correct type)
- Wrench for bleeder valves
- Clear tubing
- Catch container
- Assistant (optional but helpful)
- Gloves and safety glasses
Step-by-Step Guide to Bleeding Brakes
1. Prepare Your Vehicle
- Park your car on a flat surface and engage the parking brake.
- Remove the wheels to access the brake calipers.
- Check the brake fluid reservoir and top it up if necessary.
2. Locate the Bleeder Valves
Each brake caliper or wheel cylinder has a bleeder valve. From my experience, it’s easiest to start with the wheel farthest from the master cylinder, usually the passenger rear wheel, then work your way closer. This ensures all air is pushed out systematically.3. Attach the Tubing
- Place one end of the clear tubing over the bleeder valve.
- Submerge the other end in a catch container with a little brake fluid to prevent air from re-entering.
4. Pump and Release
- Have your assistant pump the brake pedal several times and hold it down.
- Loosen the bleeder valve slightly. Fluid and air bubbles will flow into the tube.
- Tighten the valve before your assistant releases the pedal.
- Repeat until no air bubbles appear.
5. Check and Refill
After bleeding each brake, always check the master cylinder reservoir. Top it off with fresh brake fluid to avoid introducing new air into the system.6. Test the Brakes
Once all four wheels are done, gently press the brake pedal while the car is stationary. It should feel firm and responsive. Take a slow test drive in a safe area to confirm proper braking performance.Safety Tips and Common Mistakes
From personal experience, here are some key tips to ensure safety and efficiency:- Never reuse old brake fluid. Contaminated fluid can damage the system.
- Always wear gloves and glasses; brake fluid is corrosive.
- Don’t let the master cylinder run dry; it introduces air back into the lines.
- Bleed brakes in the correct order: farthest to closest to the master cylinder.